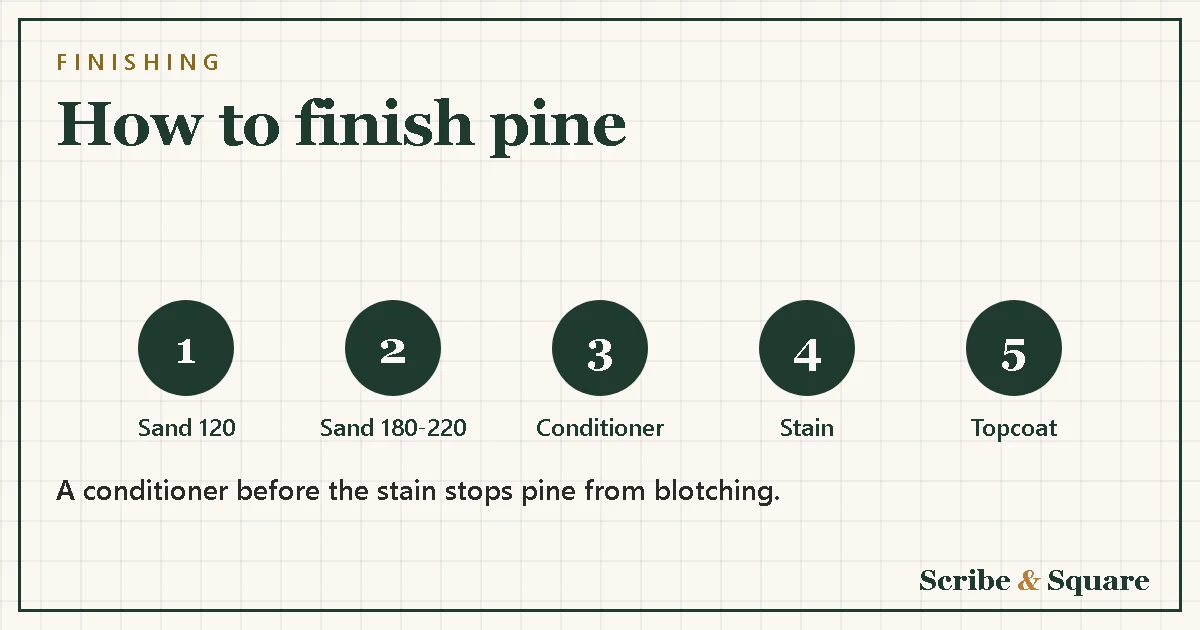
Sand with 120 then 180 or 220 grit, wipe off the dust, apply a pre-stain conditioner if you will stain, wipe the stain on and off, and finish with thin coats of topcoat.
Pine is cheap, easy to find and easy to cut, which makes it a favorite for first projects. It also takes stain unevenly and dents easily, so the finish matters. Here is a simple process that works for most indoor projects.
What you need
- Sandpaper in 120 and 180 or 220 grit (and a sanding block)
- A clean cloth or tack cloth
- Pre-stain wood conditioner (if you will stain)
- Stain, paint or clear finish
- A topcoat such as polyurethane, if you want a durable surface
- Brushes or lint-free rags, gloves and good ventilation
Step 1: Sand in stages
Start with 120 grit to remove marks and flatten glue lines, then finish with 180 or 220 grit for a smooth surface. Always sand with the grain, and wipe off the dust before the next step. Do the sanding before assembly where you can, because inside corners are hard to reach later.
Step 2: Fill holes and gaps
Fill screw holes and small gaps with wood filler, let it dry, and sand it flush. If you plan to stain, choose a stainable filler and test it on a scrap first, because many fillers do not take stain like the wood does.
Step 3: Choose your finish
| Finish | Look | Notes |
|---|---|---|
| Paint | Solid color, hides the grain | Prime first. Forgiving on pine |
| Stain + clear coat | Shows the grain, adds color | Pine blotches, so use a conditioner |
| Clear coat only | Natural, slightly amber | Water-based finishes stay lighter |
Step 4: Stain pine without blotches
- Apply a pre-stain wood conditioner, following its label, so the stain absorbs more evenly.
- Wipe the stain on with a rag, going with the grain.
- Wipe off the excess after the time on the label. Do not let it dry on the surface.
- Let it dry fully before the topcoat.
Step 5: Add a topcoat
Polyurethane protects tables, benches and shelves from scratches and spills. Apply thin coats, let each dry as the label says, and scuff lightly with fine sandpaper (such as 220 grit) between coats. Thin coats look better and dry harder than one thick coat.
Safety
Work with good ventilation, wear gloves and a respirator suited to the product, and keep rags that have oil-based finish on them spread flat to dry or in a closed metal container with water, because they can heat up and catch fire. Always follow the instructions on the can.
Plans that tell you when to finish
Our plans list the recommended finish for each project. See the plans, or start with the free Box Ledge Shelf. Our plans are modeled and checked in 3D and have not yet been built and tested.
Frequently asked questions
How do I stop pine from blotching when I stain it?
Apply a pre-stain wood conditioner first, then wipe the stain on and wipe off the excess after the time on the label.
What grit should I sand pine to before staining?
Sand with 120 grit, then finish with 180 or 220 grit, always with the grain.
Do I need a topcoat over stain?
A topcoat such as polyurethane protects furniture from scratches and spills. Apply thin coats and let each dry as the label says.
Should I prime pine before painting?
Yes. Primer helps the paint stick and covers knots and uneven color.
Start with a free plan
The free Box Ledge Shelf plan includes a finishing step, with the option to finish the box before you hang it.
Get the free plan